Cesare Brizio

Olivarium: come imbottire le piccole caselle
Click sulle immagini per ingrandirle

Olivarium: how to pad the small cells
Click on the pictures to enlarge

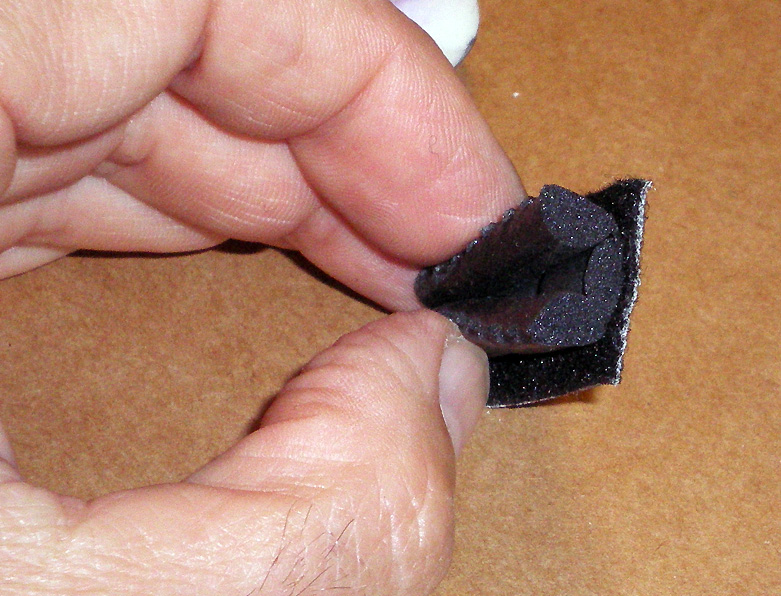
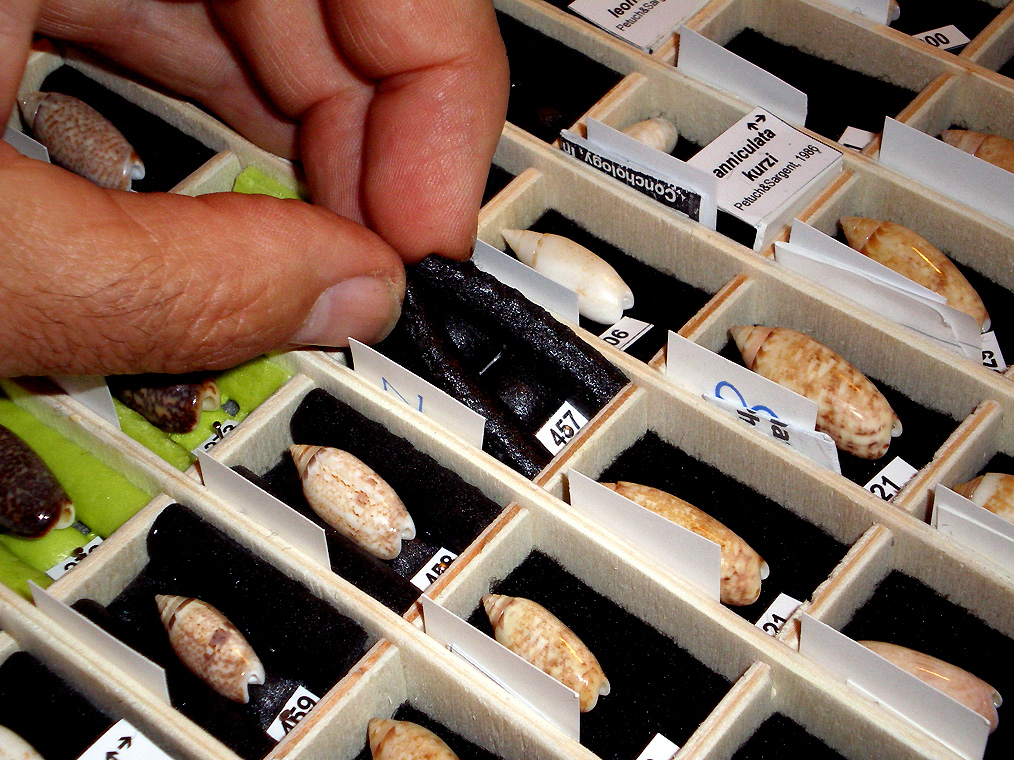
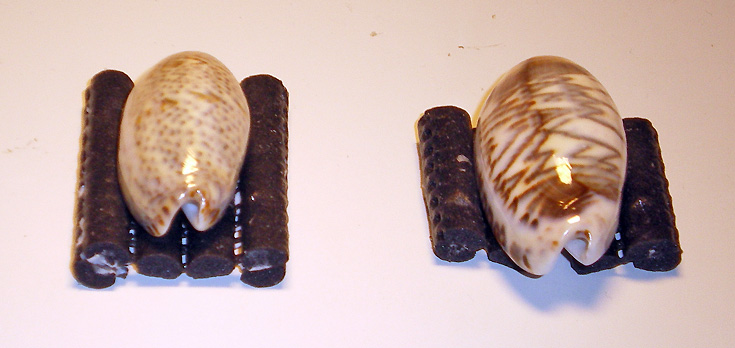
Il cassetto più affollato del mio Olivarium, quello per le specie più piccole, ha presentato un problema: cercando la più alta capacità (che si traduce nel più piccolo formato possibile di celle), ho dovuto tenere le caselle abbastanza larghe per afferrare la conchiglia con la punta delle dita o con piccole pinze morbide.
Per la maggior parte delle specie più piccole (pensa a Oliva hilli , per dirne una ...) ciò ha comportato una casella molto ampia ...
Dal momento che mi piace moltissimo un aspetto ordinato, questo vuol anche dire che centrare ogni conchiglia nella sua casella richiede un'enorme quantità di lavoro minuzioso, che può essere compromesso dal minimo impatto mentre si reintroduce il cassetto nell'Olivarium.
In breve, avevo bisogno di cellule "autocentranti", imbottite su entrambi i lati e con una sezione centrale depressa di circa 10 mm.
Dopo innumerevoli notti insonni, e dopo la ricerca infruttuosa di strisce di schiuma profilate a M, in un negozio di bricolage mi sono imbattuto in alcuni rotoli di "schiuma vinilica cannettata antiscivolo". Le "canne" o "costole" che attraversano il rotolo sono larghe circa 9 mm e il divario tra le costole è di circa 2 mm - con una sezione inferiore a circa 1 cm di larghezza e due lati ugualmente inclinati, era chiaro fin dall'inizio che serviva un po' di lavoro per ogni casella, ma l'effetto sarebbe stato esattamente quello che stavo cercando.

The most crowded drawer in my Olivarium, that for the smallest species, presented a problem: while pursuing the highest capacity (that translates in the smallest possible cell size), I had to keep cells wide enough to grasp the shell with the tip of pinched fingers or with small soft-grip pincers.
For most of the smaller species (think to Oliva hilli, to say one...) this meant a very wide cell...
Since I like very much an ordered appearance, this also meant that centering each shell in its cell required an huge amount of painstaking work, that could be compromised by the slightest impact while reintroducing the drawer in the Olivarium.
In short, I needed "auto-centering" cells, padded on both sides and with a depressed central section of around 10mm.
After innumerable sleepless nights, and after the unfruitful search for M-profiled foam stripes, in a DIY store I stumbled upon some rolls of "schiuma vinilica cannettata antiscivolo" - and finding the English translation of the name of this material was an endeavor itself. I settled on the following: "Non-adhesive Smooth Top Easy Grip Shelf Liner" and "Ribbed Foam Shelf Liner" - I even found a commercial product closely resembling the one that I used, and it's called "Gorilla Grip" and can be bought on Amazon.
The "reeds" (literal translation from the Italian) or "ribs" traversing the roll are around 9mm wide and the gap among the ribs is around 2mm - with a bottom section around 1 cm wide, and two equally inclined sides, it was clear from the start that some work was needed for each cell, but the effect would have been exactly what I was looking for.

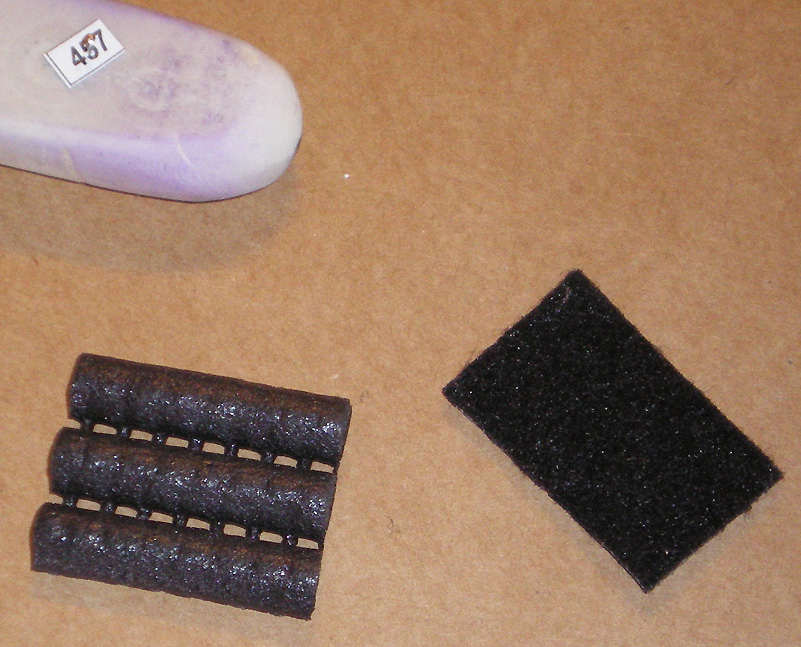
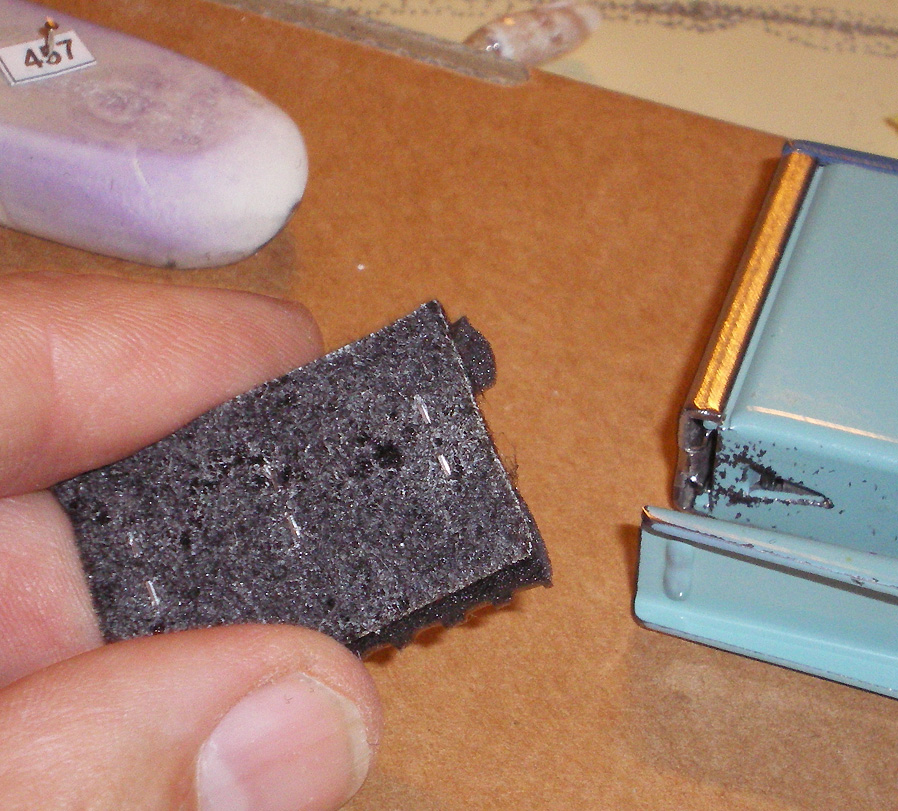
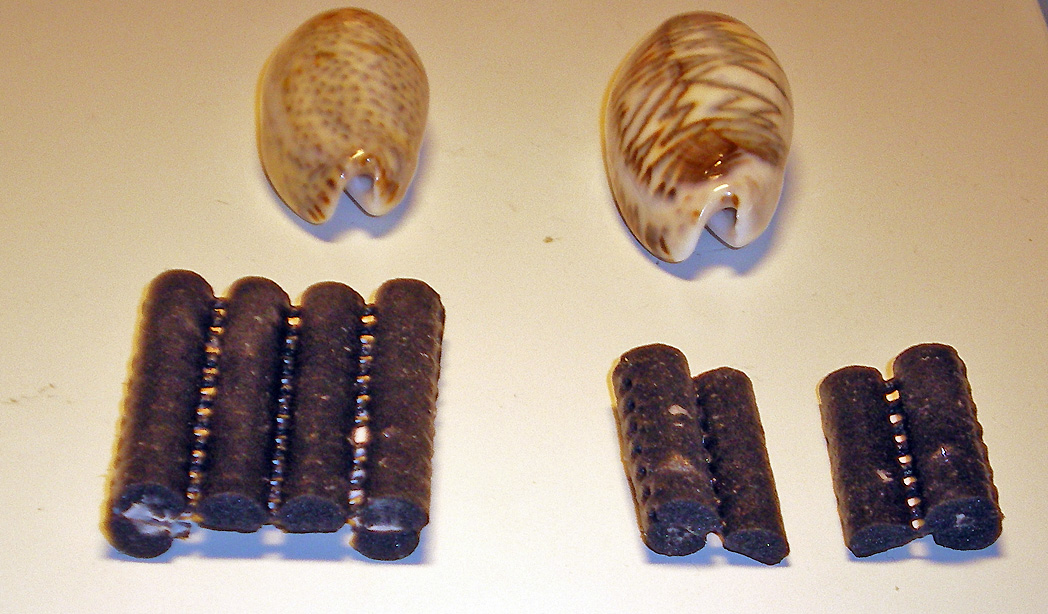
Ricordando che ogni casella ha un tappetino che ne copre esattamente il fondo, ho preparato rettangoli a tre costole, alte quanto le celle (34 mm), e graffato la costola centrale sulla linea mediana longitudinale del tappeto, con tre graffette (in alto, centro, in basso).
Le due costole laterali, come previsto, sporgevano leggermente dai lati del tappetino inferiore.
Al momento dell'inserimento nella casella, i lati della casella hanno sollevato le costole laterali sporgenti, creando l'effetto desiderato di un solco centrale in ciascuna casella.

Remembering that each cell has a small mat exactly covering its bottom, I prepared three-ribs-wide rectangles, as high as the cells (34mm), and stapled the center rib on the longitudinal midline of the mat, with three staples (top, center, bottom).
the two side-ribs, as expected, stuck out a little from the sides of the bottom mat.
At the moment of inserting the mat back into the cell, the cell sides pulled up the protruding side ribs, creating the desired effect of a central groove in each cell.


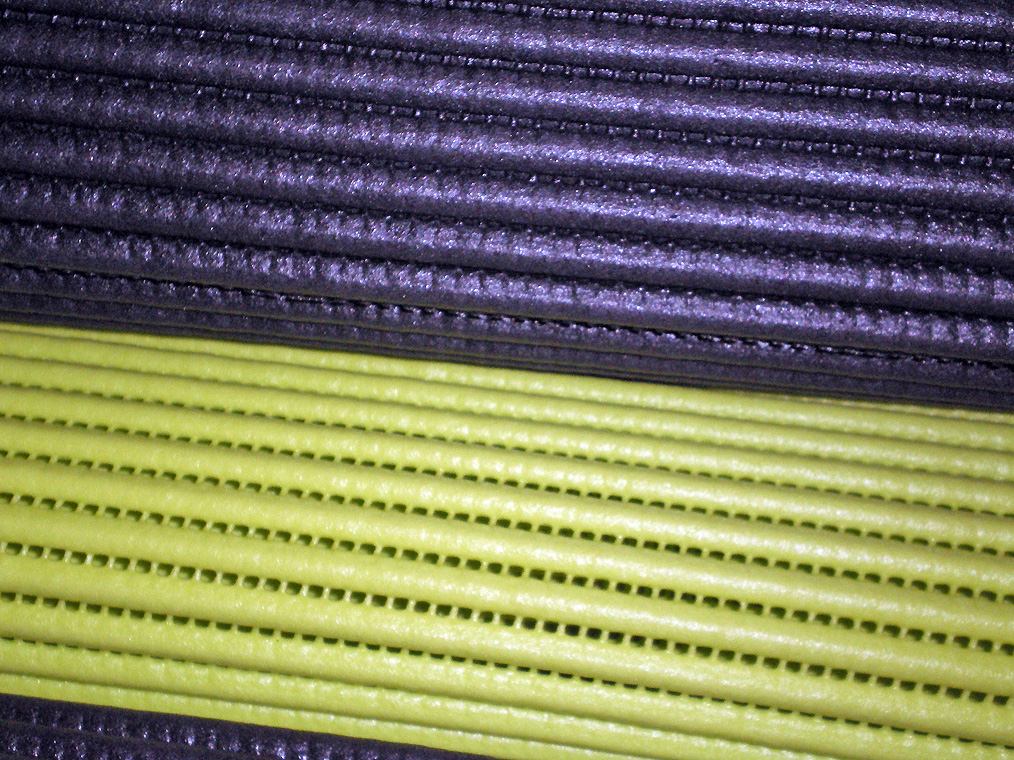
Considerando che la sezione di ogni nervatura è asimmetrica (il rotolo di gommapiuma ha un lato piatto e le costole sono bombate), a seconda di quale lato della schiuma tengo sopra, posso ottenere una scanalatura leggermente più larga o leggermente più stretta.
A proposito, ho colto l'occasione per fissare la piccola scheda con il numero del campione sull'inserto in schiuma, usando un piccolo spillo per etichette entomologiche.

Considering that the section of each rib is asymmetrical (the foam roll has one flat side, and the ribs are bulging), depending on which side of the foam I keep above I can obtain a slightly wider or slightly narrower groove.
By the way, I took the opportunity to fix the small card with the specimen number to the foam mat, using a small entomology label pin.


Anche se le caselle in tutti i miei cassetti rimanenti sono molto più larghe e non hanno bisogno di imbottiture quanto quelle piccole, la natura modulare del rivestimento a coste consente di realizzare facilmente inserti più larghi con i lati rialzati, ad es. tagliando rettangoli a sei nervature e incollando o pinzando insieme le due costole esterne su ciascun lato.
Indipendentemente dalle dimensioni della cella, un risultato ancora migliore può essere ottenuto con strisce a tre costole.

Even though the cells in all my remaining drawers are much wider and do not need padding as sorely as the small ones, the modular nature of the ribbed shelf liner allows to make quite easy wider pads with raised sides, e.g. by cutting a six-ribs-wide rectangles, and gluing, or stapling, together the two outer ribs on each side.
Regardless of the cell size, an even better result may be obtained with three-ribs-wide strips.